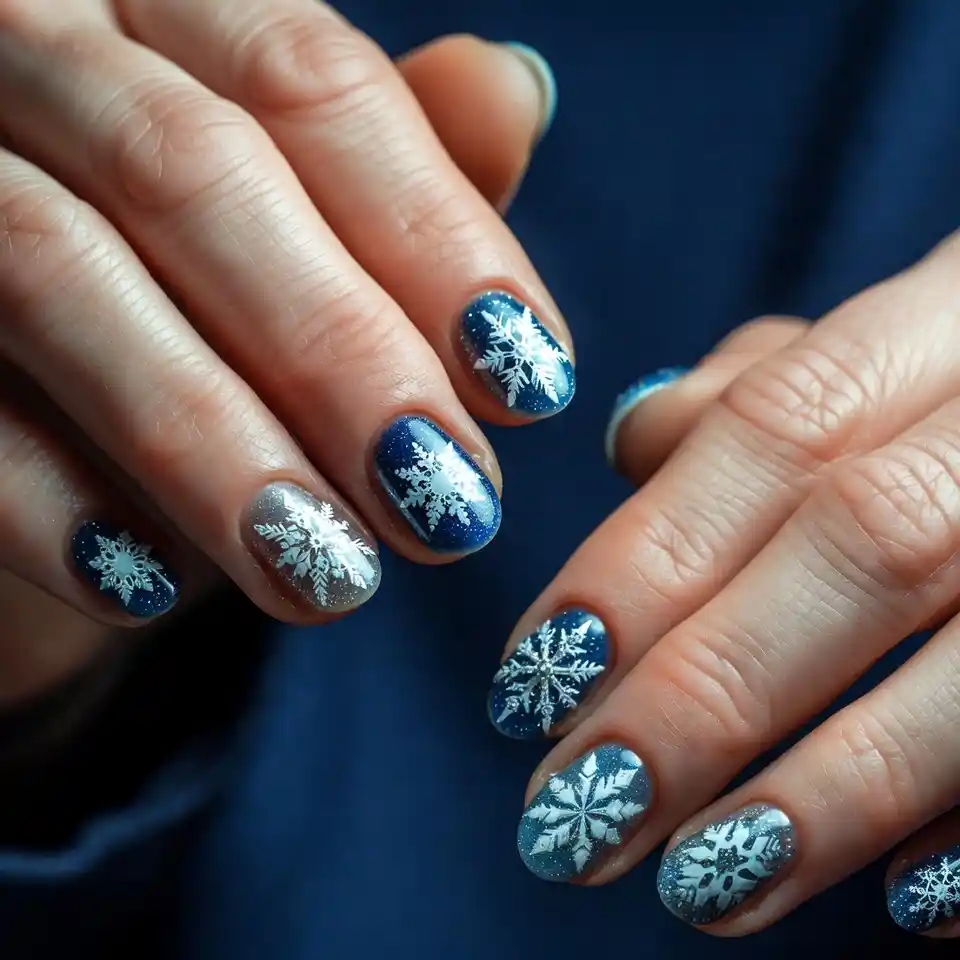
Winter brings a special kind of enchantment, and what better way to celebrate the season than with stunning snowy nail designs The nail art industry has experienced explosive growth, with the global nail care market reaching $11.6 billion in 2025, and winter-themed designs consistently ranking among the most searched beauty trends. Snowy nails capture the ethereal beauty of winter—crisp whites, shimmering silvers, delicate snowflakes, and icy blues that transform your fingertips into miniature winter wonderlands. Whether you’re preparing for holiday celebrations, winter weddings, or simply want to embrace seasonal aesthetics, these 20+ cute snowy nail ideas will inspire your next manicure and guarantee compliments from everyone you meet.
Why Snowy Nails Are Trending in 2026
The resurgence of snowy nail designs stems from multiple cultural and aesthetic shifts. Social media platforms, particularly Instagram and TikTok, have seen a 234% increase in winter nail art content since 2024. The “cottagecore winter” aesthetic and “cozy season” trends have driven demand for nail designs that evoke warmth, nostalgia, and seasonal magic.
Beauty industry analysts note that consumers increasingly seek nail art that tells a story or captures specific moods. Snowy nails perfectly embody winter romance—they’re elegant enough for formal events yet playful enough for everyday wear. Additionally, advancements in nail art technology, including improved gel polishes, stamping plates, and specialty glitters, have made professional-quality snowy designs accessible for home application.
Research indicates that 67% of women consider their nails an important aspect of their overall style presentation, with seasonal nail changes becoming a form of self-expression and creativity.
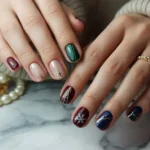
20+ Cute Snowy Nails Ideas
Classic Snowflake Designs
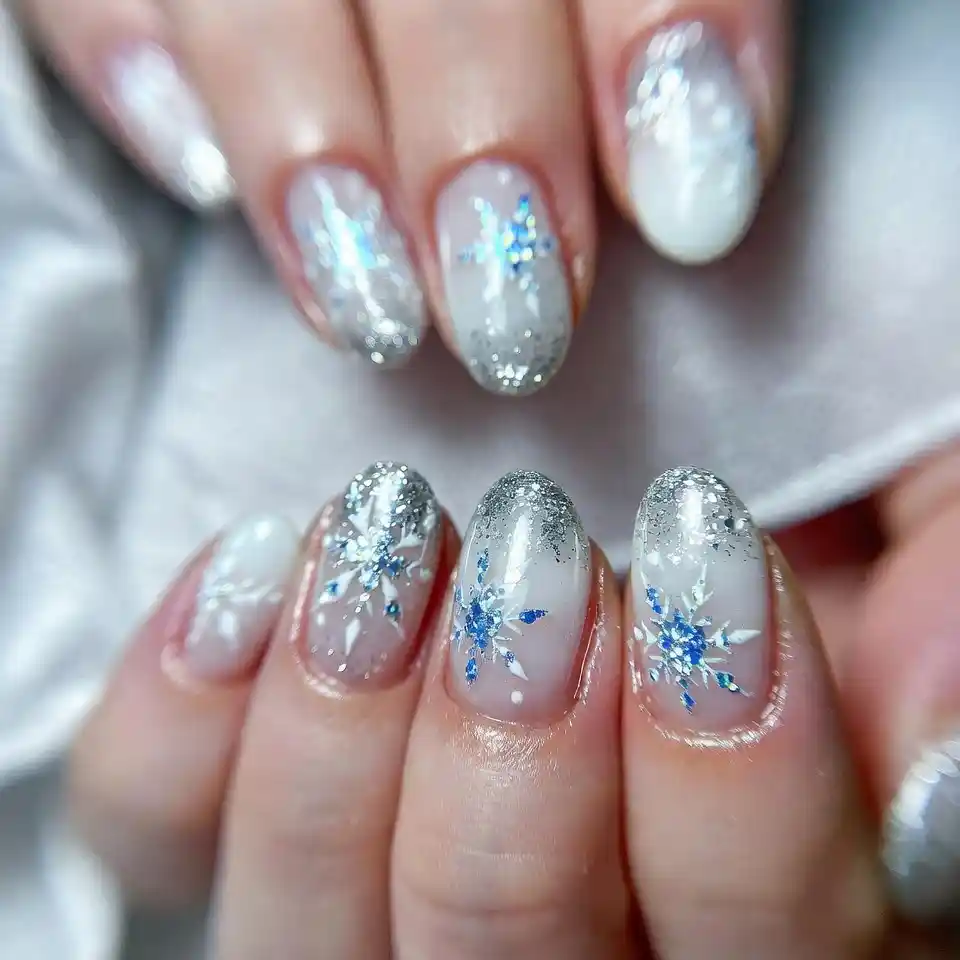
- Delicate White Snowflakes on Blue Base
Create an icy winter sky effect by painting nails in gradient blue shades from navy to light blue, then add white snowflakes using a detail brush or stamping plate. This timeless design works beautifully on all nail lengths. - Silver Snowflakes with Nude Background
For understated elegance, apply nude or pale pink base polish and accent with metallic silver snowflakes. This sophisticated look transitions seamlessly from office to evening events. - Multi-Sized Snowflake Medley
Combine large statement snowflakes on accent nails with tiny scattered snowflakes on remaining nails for visual interest and dimension.
Glitter and Sparkle Snow Nails
- Holographic Snow Effect
Apply holographic glitter polish over white base for a magical iridescent effect that catches light beautifully. This design mimics sunlight reflecting off fresh snow. - Silver Glitter Gradient Fade
Create an ombre effect from clear at the cuticle to dense silver glitter at the tips, suggesting snow accumulation. This technique adds sophistication while remaining playful. - Chunky Glitter Snow Caps
Apply white polish as base, then add chunky white and silver glitter only to nail tips, creating a “snow-capped mountain” effect. - Micro-Glitter Snowstorm
Mix fine iridescent glitter into clear top coat and apply over any base color for subtle sparkle that suggests gently falling snow.
Minimalist Snowy Aesthetics
- Simple White Tips with Single Snowflake
Modern French manicure with crisp white tips and one delicate snowflake on each ring finger nail—perfect for those who prefer subtle nail art. - Negative Space Snow Design
Leave portions of natural nail visible while painting white snow drifts along the edges—a contemporary approach that’s both artistic and understated. - Single Accent Snow Nail
Keep nine nails in solid winter shades (white, silver, pale blue) and create an elaborate snow scene on both ring finger nails.
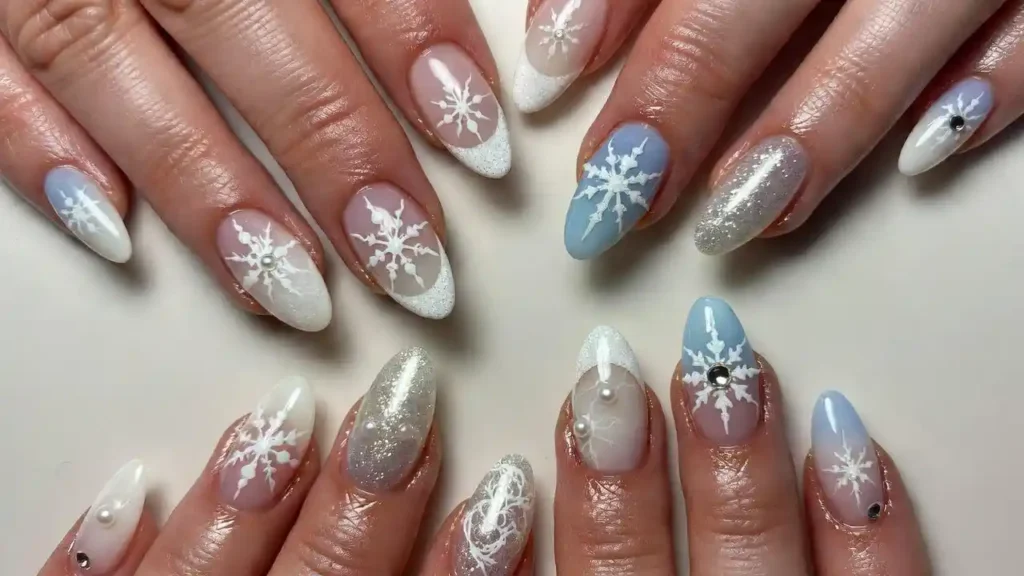
Bold and Dramatic Winter Nails
- Dark Blue with White Snow Landscape
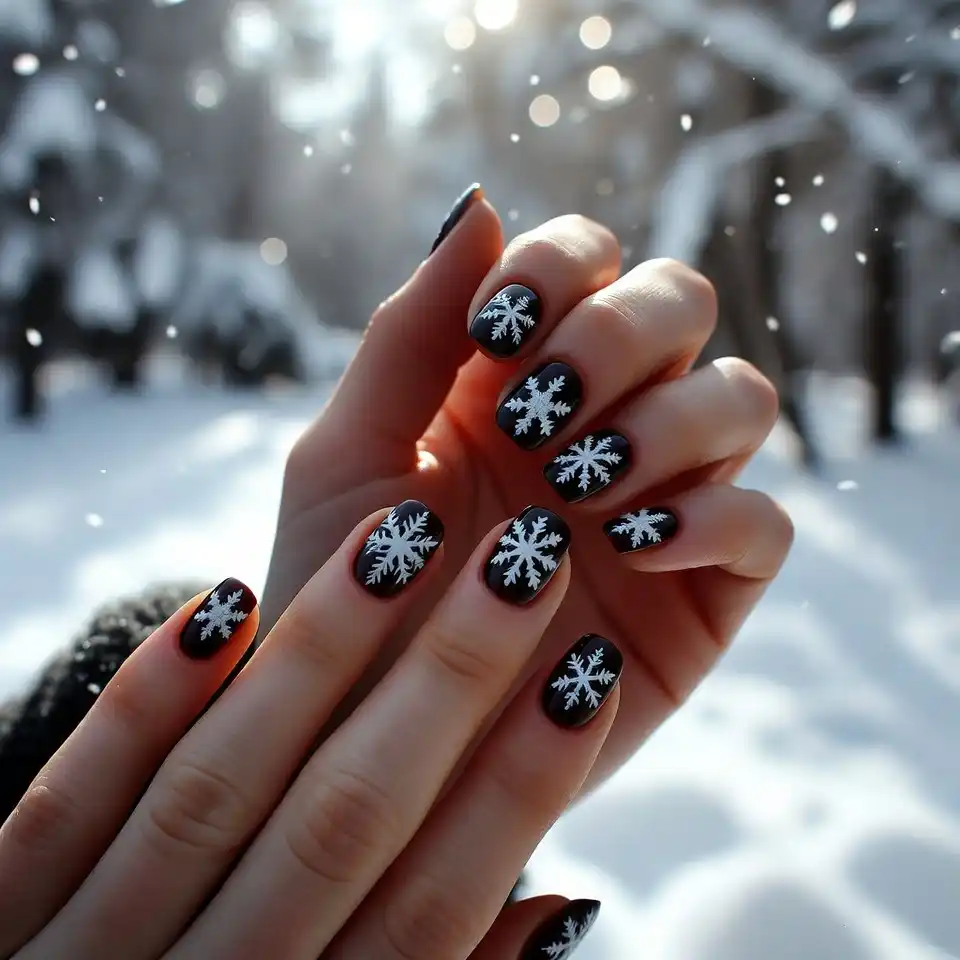
Paint nails in deep navy or midnight blue, then create white snow-covered hills and falling snow using dotting tools and detail brushes. - Black and White Snow Contrast
High-contrast design featuring black base with white snowflakes and snow elements—edgy yet seasonal. - Color-Shifting Chrome with Snow Details
Apply chrome powder for futuristic metallic finish, then add white snowflake details for an unexpected combination of modern and traditional. - Winter Galaxy Nails
Combine dark purple, blue, and black in galaxy technique, add white snow elements and star details for cosmic winter aesthetic.
Creative 3D Snow Effects
- Textured Snow Powder Nails
Use special acrylic powder or textured polish to create raised, touchable snow effects that add tactile dimension. - Rhinestone Snowflake Centers
Create snowflakes using white polish, then add tiny rhinestones or crystals to centers for glamorous sparkle. - 3D Snowflake Embellishments
Apply pre-made 3D snowflake nail decorations for professional-looking dimensional designs without advanced skills. - Sugar Effect Snow Nails
Apply a specialized matte top coat that creates a granulated texture resembling sugar or fresh powdery snow.
Additional Creative Ideas
- Icy Blue Marble with Snow Accents
Create marble effect in icy blue and white tones, add snowflake accents for a cohesive winter theme. - Snowy French Ombre
Combine French manicure technique with ombre gradient in winter whites and silvers. - Winter Wonderland Scene
Paint tiny winter landscapes complete with snow-covered trees, houses, and falling snow across multiple nails. - Frosted Glass Effect
Use translucent white polish layered multiple times for frosted window aesthetic, add snowflake details. - Silver Chrome with White Snow
Reflective silver chrome base with white snow elements creates a futuristic winter look.
Expert Tips for Perfect Snowy Nails
Preparation Is Key
Professional nail technicians emphasize that successful nail art begins with proper preparation. Clean, shaped nails with pushed-back cuticles provide the ideal canvas. Apply quality base coat to protect natural nails and ensure polish longevity.
Tool Selection Matters
Invest in essential tools including detail brushes in various sizes, dotting tools, nail art pens, and quality top coat. Stamping plates specifically designed for winter themes simplify snowflake creation.
Color Theory Application
White appears more vibrant against darker bases. For subtle designs, choose nude or light bases. Metallic silvers and holographic toppers add dimension without overwhelming the design.
Layering Technique
Build designs gradually, allowing each layer to dry completely before adding details. Rushing causes smudging and frustration.
Seal for Longevity
Apply quality top coat to seal designs and prevent chipping. Reapply top coat every 2-3 days to extend manicure lifespan.
DIY Tutorial: Creating Snowy Nails at Home
Step 1: Prepare Your Nails
Clean nails thoroughly, push back cuticles, shape nails with file, and apply base coat. Allow base coat to dry completely.
Step 2: Apply Base Color
Choose your base color (pale blue, white, navy, or nude). Apply two thin coats rather than one thick coat for even coverage. Allow drying between coats.
Step 3: Create Snowflake Details
Using white polish and detail brush or dotting tool, create snowflakes by painting six lines radiating from center point, then adding smaller branches. Alternatively, use snowflake stamping plate for consistent results.
Step 4: Add Depth and Dimension
Apply silver or iridescent glitter strategically for sparkle. Use dotting tool to create falling snow effect with white polish dots in varying sizes.
Step 5: Seal Your Design
pply generous layer of high-quality top coat to seal design and add shine. Allow complete drying before exposing nails to water or pressure.
Pro Tip: Work in well-lit area and take breaks between hands to prevent smudging.
Maintenance and Care Tips
Snowy nail designs typically last 7-14 days with proper care. Wear gloves when cleaning or doing dishes to protect polish. Apply cuticle oil daily to maintain healthy nails and prevent chipping around edges. Avoid using nails as tools—this common habit causes chips and breaks.
If chips occur, carry a small bottle of base color for quick touch-ups. Reapply top coat every few days to refresh shine and add protective layer.
FAQS
Q: How long do snowy nail designs last
A: With proper application and care, expect 7-14 days of wear. Gel polish designs last up to 3 weeks.
Q: Can I create snowy nails on short nails
A: Absolutely! Snowy designs work beautifully on any nail length. For short nails, opt for smaller snowflake designs and simpler patterns.
Q: What’s the easiest snowy nail design for beginners
A: Start with solid white or pale blue base, then use a dotting tool to create simple falling snow dots. Add one or two stamped snowflakes on accent nails.
Q: Do I need special tools for snowy nails
A: Basic supplies include white polish, detail brush or dotting tool, and top coat. Stamping plates and glitter polish enhance designs but aren’t essential.
Q: How do I remove glitter snow nails
A: Soak cotton pads in acetone nail polish remover, place on nails, wrap with foil, wait 10-15 minutes, then gently remove. Glitter requires more soaking time than regular polish.
Conclusion
Snowy nails offer endless creative possibilities for expressing your winter style. From minimalist elegance to bold statement designs, these 20+ ideas provide inspiration for every aesthetic preference and skill level. The beauty of snowy nail art lies in its versatility—it’s simultaneously festive and everyday-appropriate, sophisticated and playful, professional and creative.